COMMON ARTILLERY DATA
British Forces
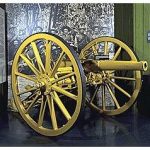
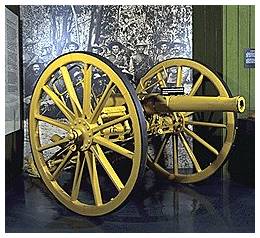
12 pounder
Range 5 200 yards, H.E. 3 800 yards shrapnel; 12.5 pound shell.
15 pounder
Range 5 500 yards H.E. 4 100 yards shrapnel; 14 pound shell.
5 inch Howitzer
Range 4 800 yards for both H.E.1 (Lyddite)2 and shrapnel3; 50 pound shell.
Naval Guns Removed from the Cruisers Terrible, Powerful, Monarch and Doris
12 pounder
Range 8000 yards H.E. only.
4.7 inch
Range 10 000 yards for both H.E. (Lyddite) and shrapnel; 45 pound shell.
Boer Forces
75mm Schneider-Creusot and Krupp
Range 8 500 yards H.E. only; 14.5 pound shell.
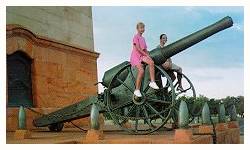
115mm Schneider-Creusot (Long Tom)
Range 11 000 yards H.E. only; 88 pound shell.
Both Sides
1 pounder, 37mm Maxim-Nordenfeldt (Pom-Pom)
Range 3000 yards
1. High Explosive (H.E.) shells burst on impact.
2. Lyddite shells threw up impressive clouds of earth and smoke, but did little damage except where they actually landed.
3. Shrapnel were timed to burst in the air releasing 200 metal balls, making them very effective against troops in the open.
Main British Artillery Formation Organisation
The personnel of a 15 pounder battery consisted of a major, a captain, 3 subalterns and 170 other ranks. Its 6 guns and limbers were each drawn by 6 horses; a gun and limber together weighed about 1.75 tons. With ammunition and other wagons and the riding horses, a battery had 138 horses.
The Horse Artillery 12 pounder battery also had 6 guns, but a smaller establishment of men and horses. The Boers possessed no comparable organisation, but their guns were very well handled, and they made good use of captured British guns.
In this war, the artillery played an increasingly minor, and the horsed soldier, an increasingly major role.
Weaponry Image Gallery/Archive
Rifles/Carbines Commonly Used by British and Colonial Forces*
-

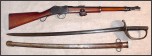
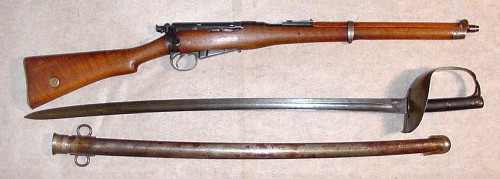
- Martini-Metford Cavalry Carbine Mark II, calibre .303, with sword and scabbard, Sword , Cavalry, Pattern 1899.
-
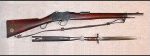
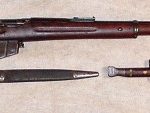
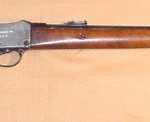
- Martini-Metford Artillery Carbine Mark III , calibre .303, with bayonet and scabbard Pattern 1888, Mark II
-
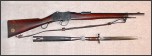
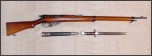
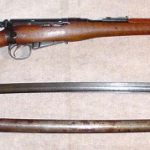
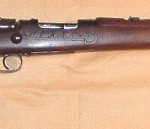
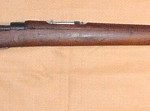
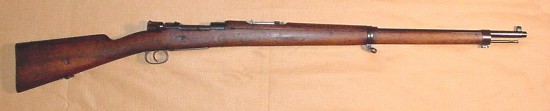
- Magazine Lee-Enfield, Mark I*, calibre .303, with bayonet and scabbard, Pattern 1888, Mark II.
-
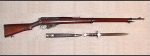
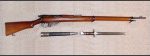
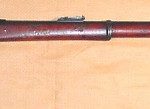
- Magazine Lee-Metford Mark II, calibre .303, with bayonet and scabbard, Pattern 1888, Second Type.
-
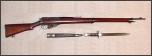
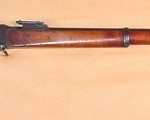
- Magazine Lee-Metford Mark I* , calibre .303, with bayonet and scabbard, Pattern 1888, Mark 1, First Type.

-
- Magazine Lee-Enfield Cavalry Carbine Mark I, with the Sword, Cavalry, Pattern 1899, with scabbard.
Rifles/Carbines Commonly Used by Boer Forces
-
- Boer Mauser carbine made for the Z.A.R., calibre 7 x 57 mm.

-
- Boer Mauser rifle made for the Z.A.R., calibre 7 x 57 mm.
-
- Westley Richards rifle made for the Z.A.R., calibre .577/.450

-
- Westley Richards carbine made for the Z.A.R., calibre .577/.450.

-
- Guedes rifle in calibre 8mm , and is Z.A.R. marked.

Revolvers Commonly Used by British and Colonial Forces*
-
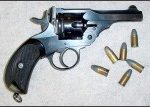
- Mark I, Service Revolver. Calibre .455. These were still in use in the Anglo-Boer War. This piece is navy marked.
-
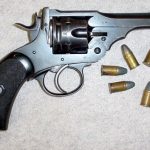
- Webley Fosbery Automatic Revolver. Calibre .455 (cordite). These early models saw some limited service in the Anglo- Boer War, since they were not available until the war was nearly over. This piece was carried by a K.O.S.B. major.

-
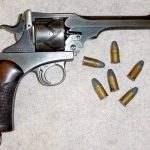
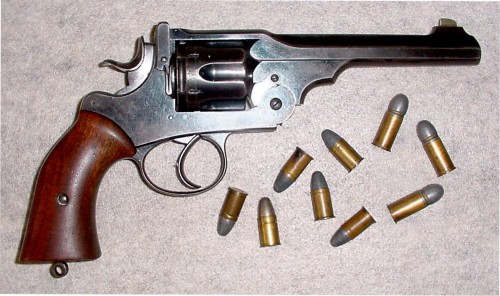
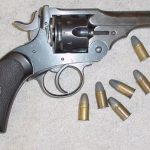
- Webley, Mark III. Calibre .455. This weapon belonged to a Canadian captain in the Anglo-Boer War.
-
- Webley, W.G. 1896 Army Model, Calibre .455/.476. Several models of this type seem to have been popular. This one has been furnished with after market stocks.
-
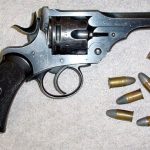
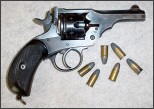
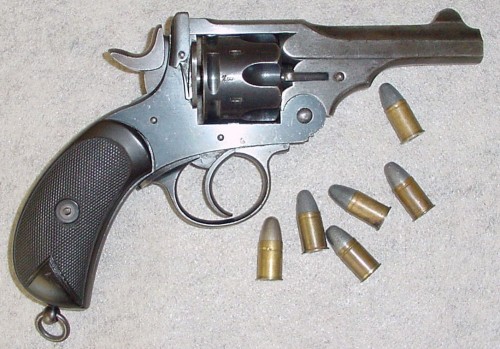
- Webley, Mark IV, Service Revolver, Calibre .455. These are often termed the “Boer War Model” and were produced in the period during the Anglo-Boer War.

-
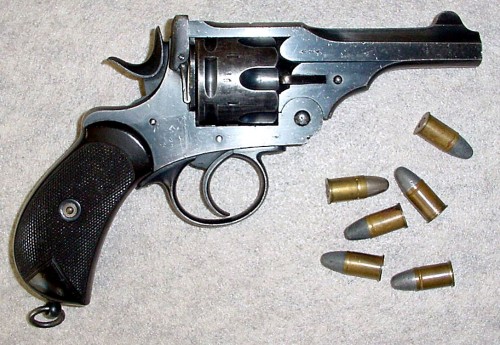
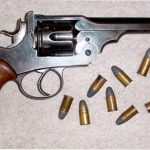
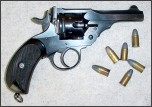
- Webley, Mark III, Service Revolver. Caliber .455. Commonly in use during the Anglo-Boer War .
-
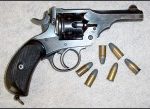
- Webley, Mark II, Service Revolver, Calibre .455/.45ACP. The original pieces were also still in use during the Anglo-Boer War. This piece has been converted to fire .45ACP cartridges with half-moon clips. This conversion was done in recent times.
-
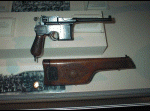
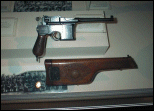
- Broomhandle Mauser.
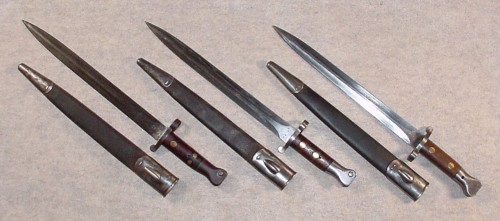
Swords and Bayonets Used During the War
-
- Cavalry Sword, circa 1890
-
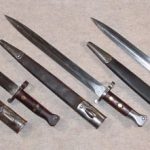
- Pattern 1888 Sword Bayonets
-
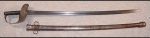
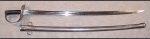
- Cavalry Sword, circa 1899
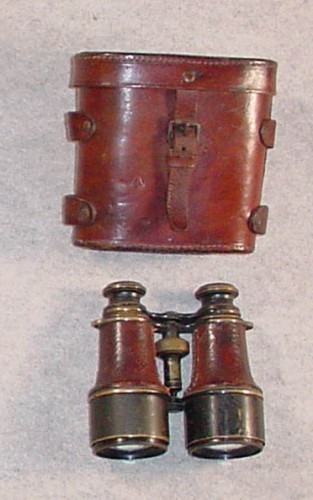
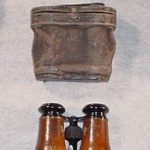
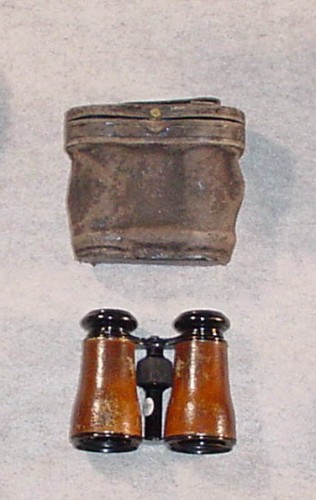
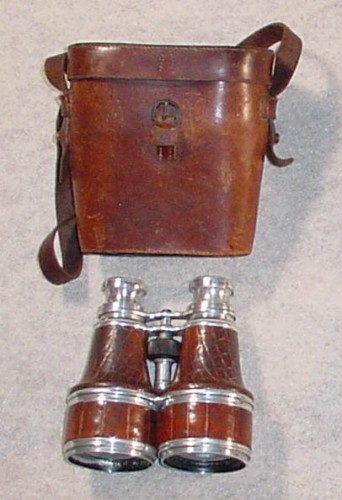
Field Glasses and Handcuffs
-
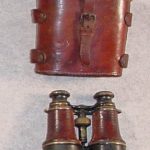
- Boer War era field glasses
-
- Boer War era field glasses
-
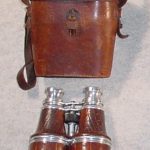
- Boer War era field glasses
-
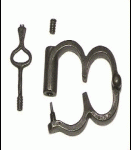
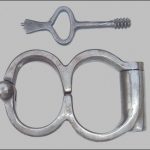
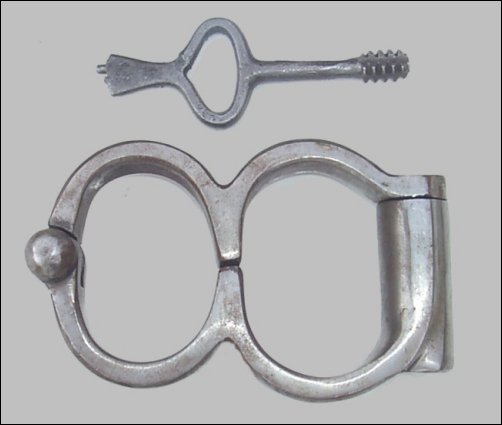
- RCS heavy Boer War Plug-8 handcuffs.
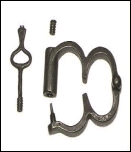
-
- Boer War era handcuffs.
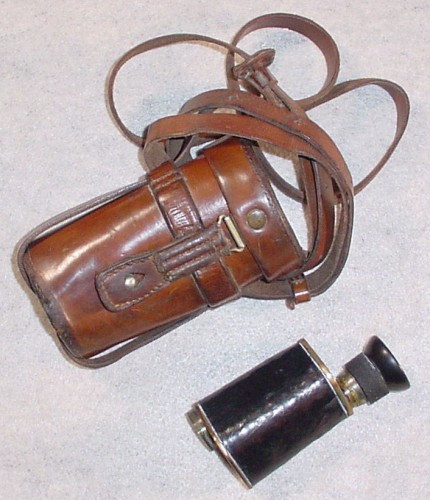
-
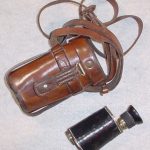
- Monocular
Images courtesy of Mr. Ken Hallock.
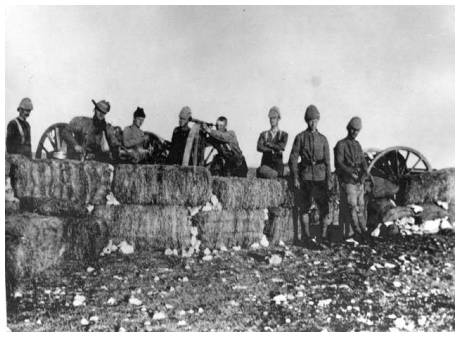
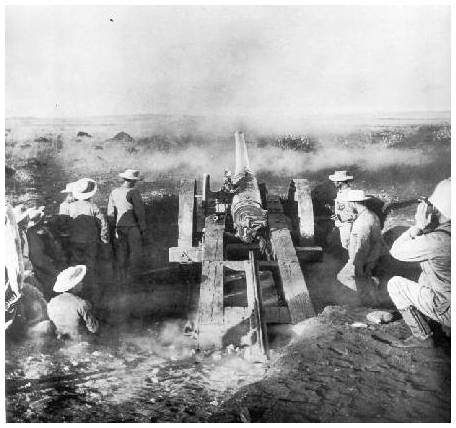
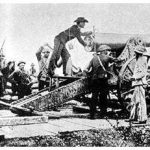
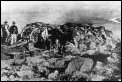
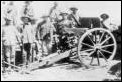
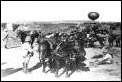
-
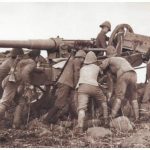
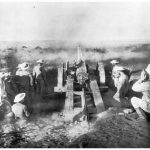
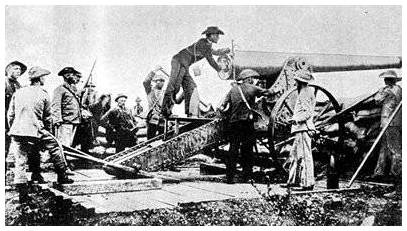
- 12 pounder gun and limber being positioned outside Ladysmith

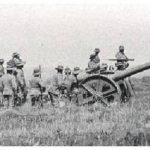
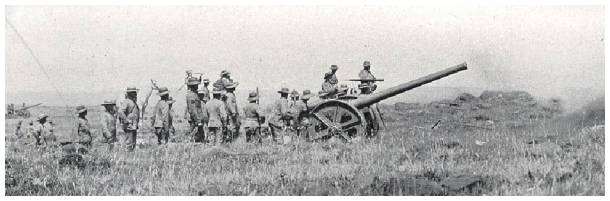
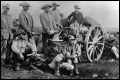
-
- Canadian “E” Bty 12-pounder detachment at Fabers Putt.
-
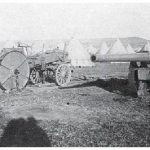
- Converted Naval 4.7in gun on its way to the front

-
- Naval 4.7in gun being sighted
-

- Naval 4.7in gun shelling enemy lines
-
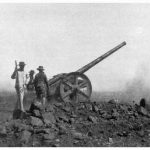
- Another of Buller’s converted 4.7in naval guns shelling Botha’s line at Colenso
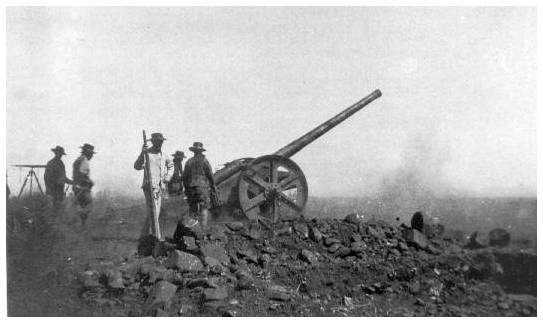
-
- A converted 4.7in naval gun being fired at Magersfontein.
-
- Naval 4.7 inch gun being fired.
-
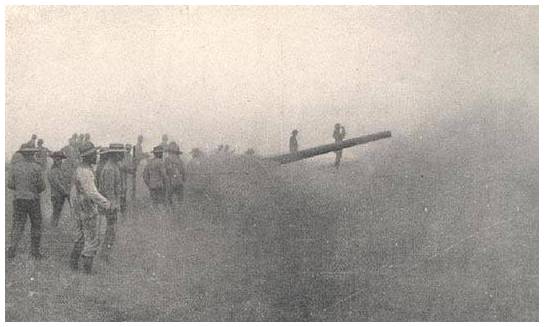
- A Boer ‘Long Tom’ at Mafeking
-
- General Cronje with ‘Long Tom’ at Mafeking.

-
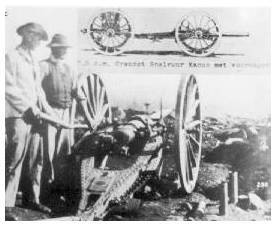
- Creusot 7.5 cm with shell displayed.
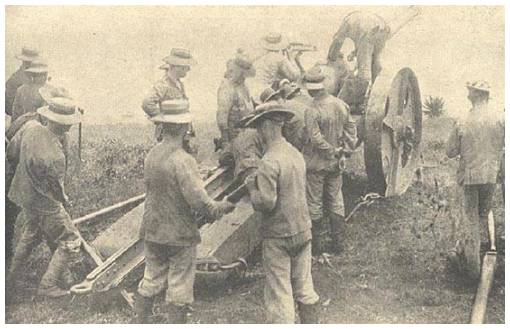
-
- 75mm Creusot commanding the loop of the Tugela at Colenso
-
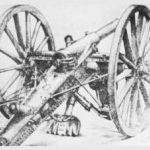
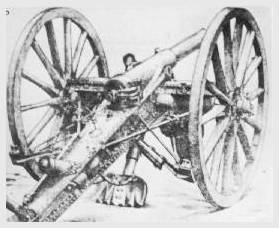
- British Armstrong 12 pounder
-
- Krupp 12cm rapid fire gun with shell displayed
-
- Pom-Pom (Maxim-Nordenfeldt) used by the Boers
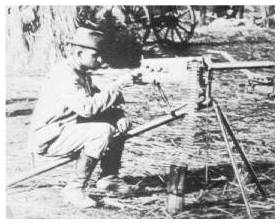
-
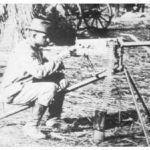
- Boer fighter testing a Maxim machine gun
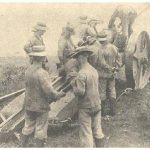
-
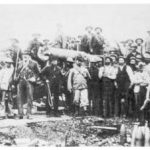
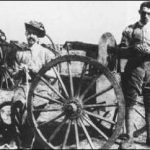
- Boer soldiers with Krupp field gun.
-
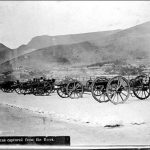
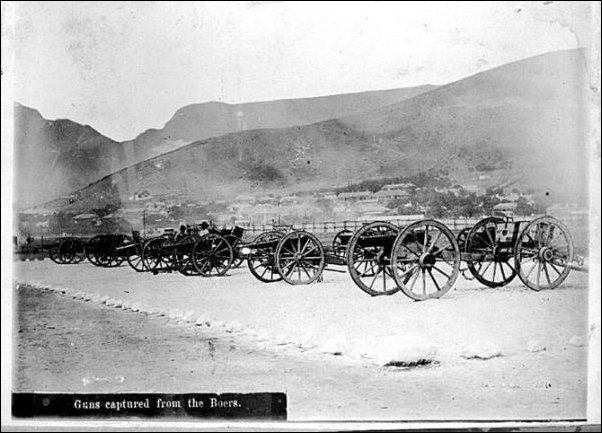
- Captured Boer guns.
-
- Maxim Machine Gun detachment in England.
-
- Colt machine gun being cleaned by Canadian troops

-
- Canadian soldier and machine gun with limber.
-
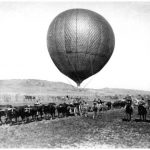
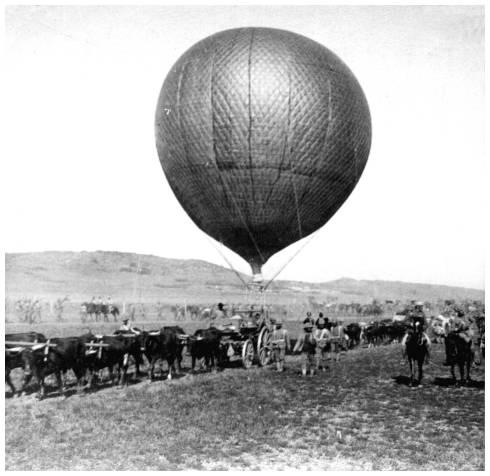
- Balloon Corps balloon advancing on Johannesburg with the 8th RFA.
-
- Balloon Corps balloon advancing on Johannesburg with the 8th RFA.
-
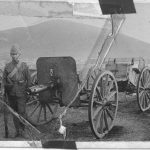
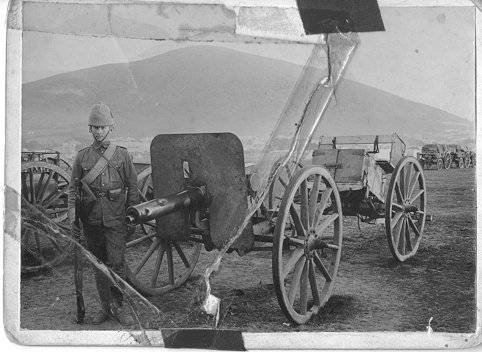
- British 12 pounder – captured by Boer forces & re-captured by Canadian troops at the Battle of Leliefontein.
-

- Boer gun captured by Australian troops on display in the Australian War Musuem.

-

- Long Cecil – constructed in Rhodes’ factory during the siege.
-
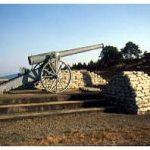
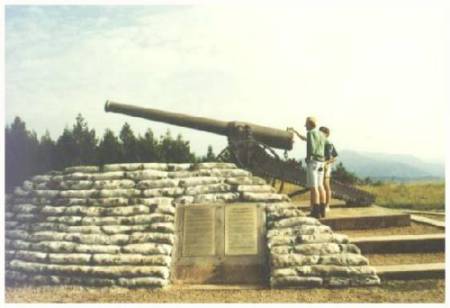
- Replica Long Tom commanding a pass in Mpumalanga.
-
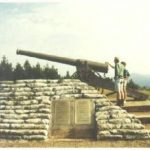
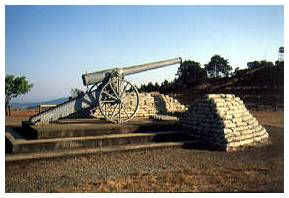
- Same restored Long Tom in Mpumalanga.
SOURCES:
Belfield, Eversley. The Boer War. Hamden: Archon, 1975.
Nel, Malinda: Private researcher, South Africa
