• Skip to main content
  • Skip to primary sidebar

BowlerHat

South African War Virtual Library

  • Home
  • Contents
  • Search
  • Updates
  • Links
  • Contact

New South Wales Contingents to the Boer War

1st Australian Horse (New South Wales)

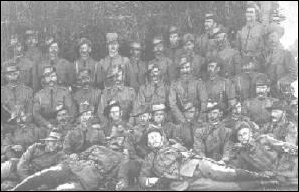
NSW Imperial Bushmen pose before departure
New South Wales Artillery

New South Wales Artillery

New South Wales Field Hospital and Bearer Company

New South Wales Mounted Infantry

1st New South Wales Mounted Rifles

3rd New South Wales Mounted Rifles

1st New South Wales Bushmen (see image to right)

6th Imperial Bushmen (4th New South Wales Contingent)

3rd New South Wales Bushmen

New South Wales Lancers

Other Contingents/Units in Which NSW Troops Served

5th and 6th Australian Contingent

Royal Australian Artillery

Australian Army Medical Corps

Doyle’s Scouts

Intelligence Department
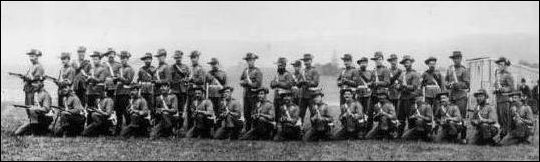
NSW Mounted Riflemen pose before departure for South Africa

NSW Mounted Riflemen pose before departure for South Africa

Primary Sidebar

Categories

  • South African War Virtual Library

Recent Posts

  • Biographies: African Figures
  • Foreign Volunteers with the Boer Forces
  • Boer Forces in the Anglo-Boer War
  • South Asian Forces in the Boer War
  • South African Forces in the Anglo-Boer War
  • New Zealand Forces in the Anglo-Boer War
  • Canadian Forces in the Anglo-Boer War
  • British Forces in the Anglo-Boer War
  • West Australian Contingents to the Boer War
  • Victorian Contingents to the Boer War
  • Tasmanian Contingents to the Boer War
  • South Australian Contingents to the Boer War
  • Queensland Contingents to the Boer War
  • New South Wales Contingents to the Boer War
  • Australian Forces in the Anglo-Boer War

Copyright © 2026 · Bowlerhat.com.au